
Table of Contents
- Download the Chrome Extension and create your Gluetrail account
- Creating your first recording
- Articles with Screenshots (text generation section)
- Content templates
- Languages
- Content blocks
- Video editor (video generation section)
- AI voice
- Background
- Video track
- Zoom in
- Decelerate / Accelerate
- Cut
- Exports (export section)
- Notion
- Confluence
- A Gluetrail public link
- Appendix
- Integrations tab
- Need support?
Do not index
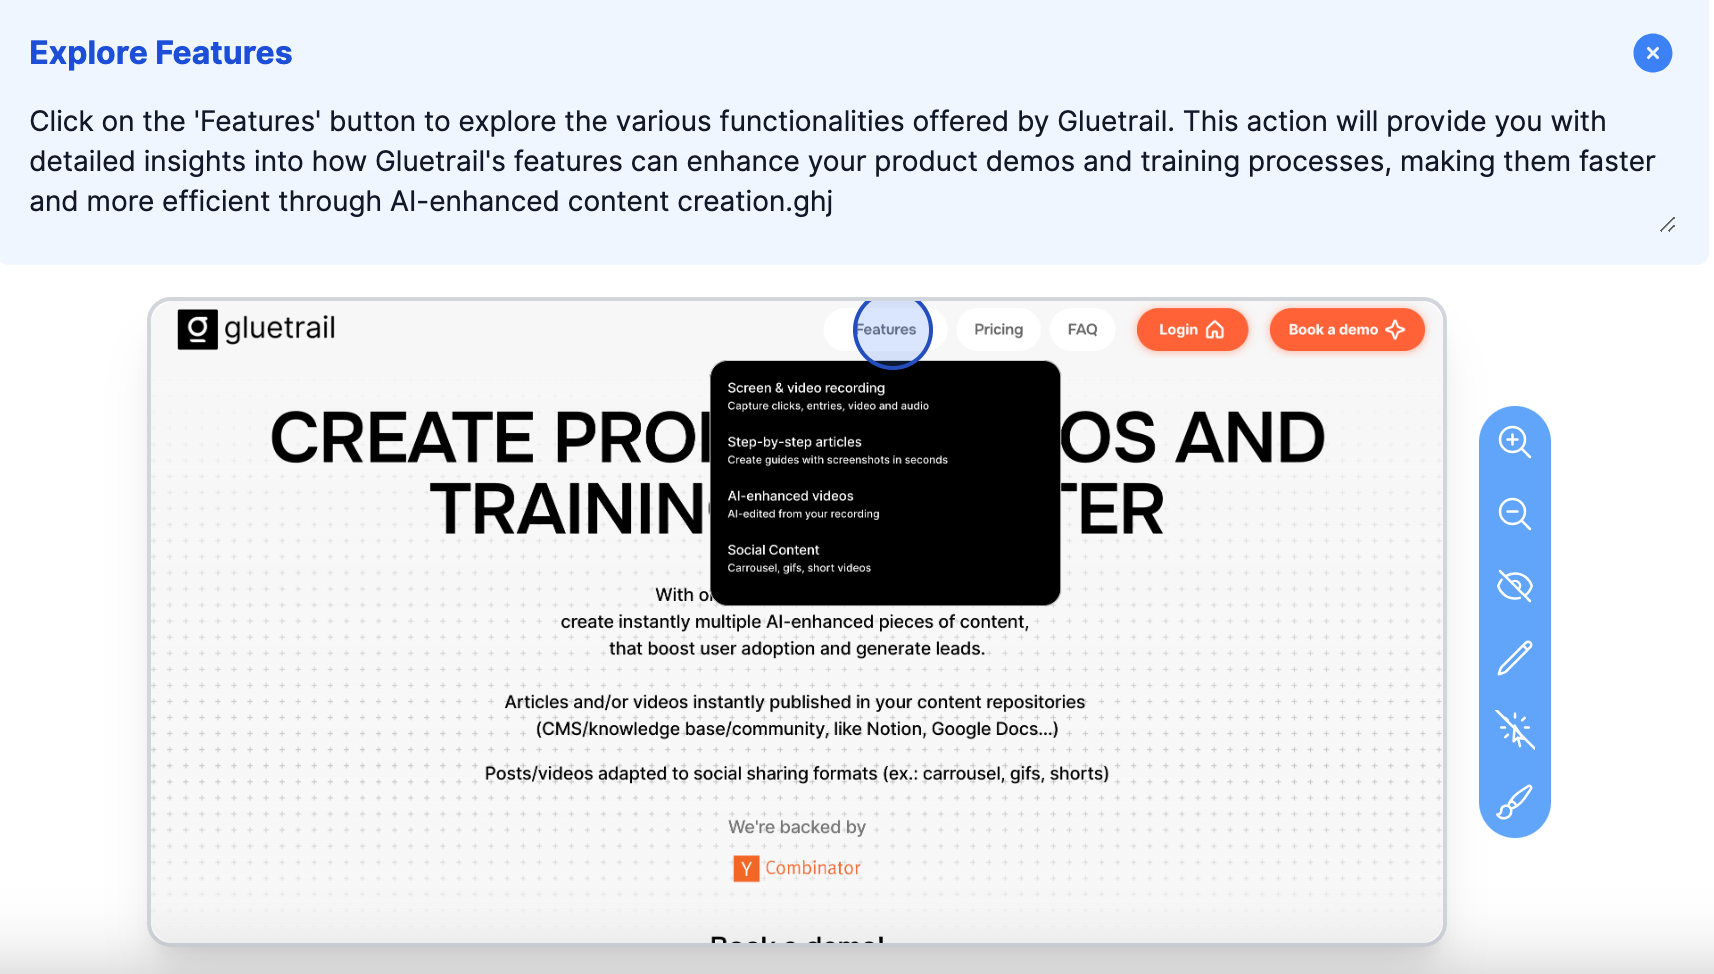
Gluetrail helps you create training/support/marketing assets 10x faster. Using our Chrome extension and with one single screen recording, you can instantly create articles with screenshots or videos. You can then publish these pieces of content in your knowledge base, like your Notion or Google Docs, as well as on social media platforms like LinkedIn or YouTube.
Download the Chrome Extension and create your Gluetrail account
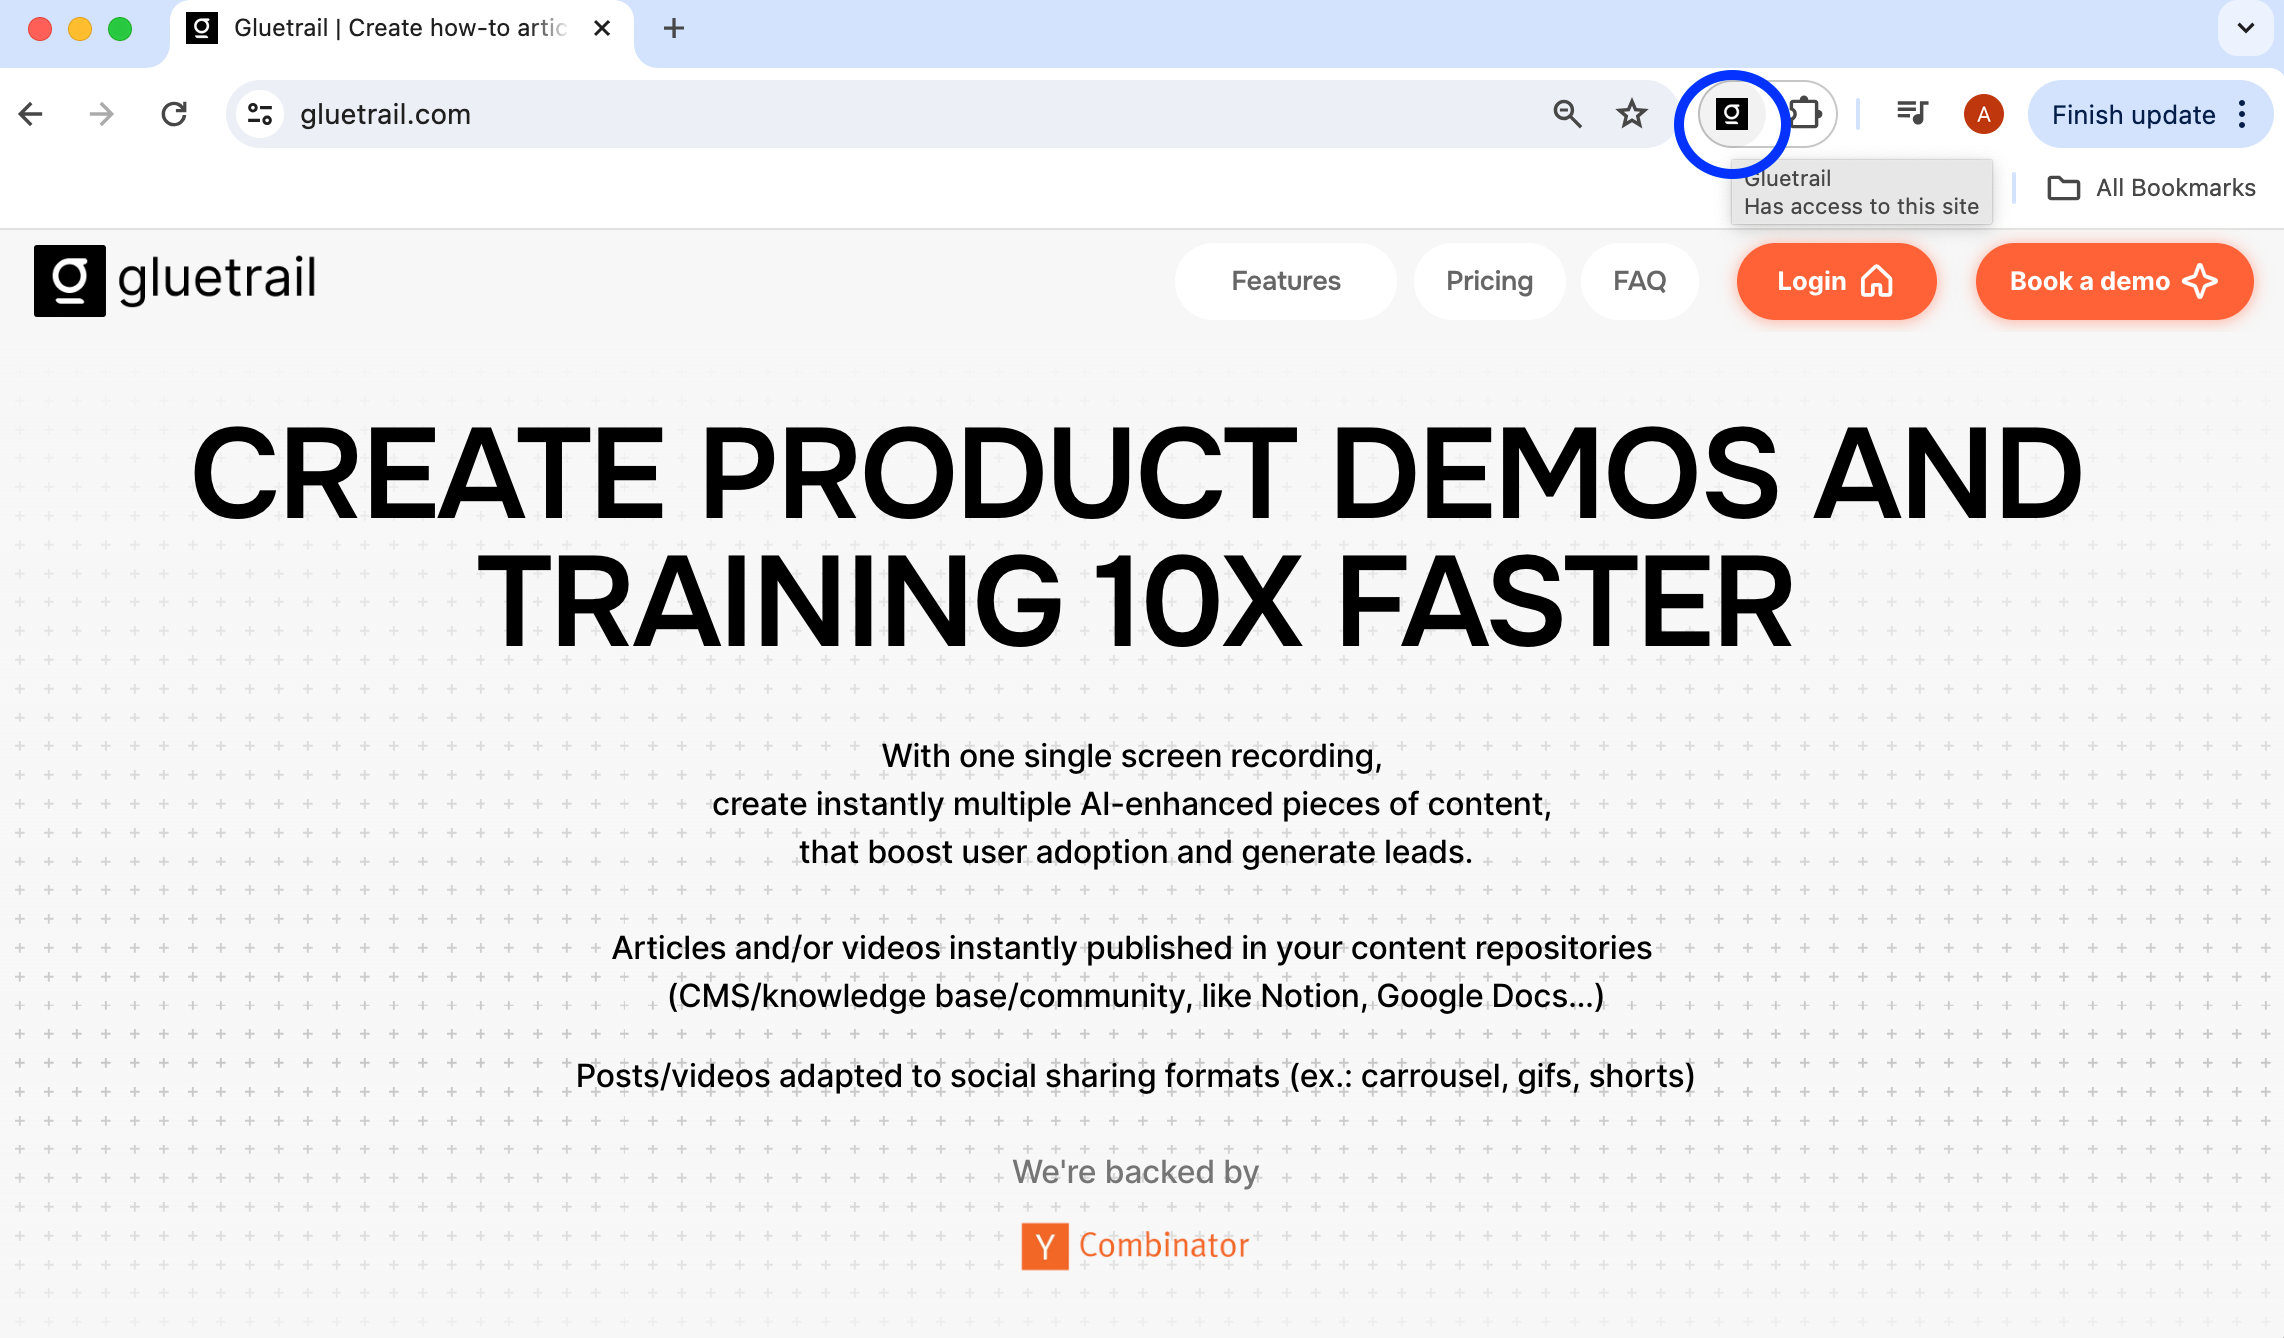
Get started by downloading the chrome extension at https://chromewebstore.google.com/detail/gluetrail/mnjdgdchgfpjffhepebpbgojdoleakdd
After it's downloaded, navigate to another tab and click the chrome extension icon.
You'll be prompted to sign in to your Gluetrail account or create one. Create one as necessary.
Creating your first recording
- Starting Your Recording: Click on the Gluetrail Chrome extension in any tab of your Chrome browser. You’ll be prompted to make selections about recording your camera and audio, and choosing the folder for saving your content.
The below panel will show:
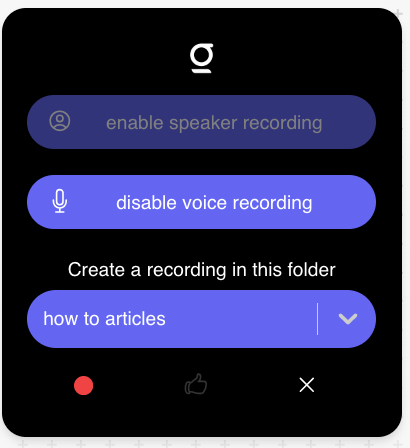
- Camera Settings: If adding a personalized touch to your video is your goal, enable your camera by clicking on “enable speaker recording”. For tasks like screenshots and article writing, it’s better to disable the camera to avoid unnecessary captures during screenshots.
- Audio : Always keep the audio on as much as possible, clicking “enable voice recording”. Audio helps in adding more context and depth to the content, making your tutorials more informative.
- Folder: choose a folder to store your recording into. You can create folders within your account at app.gluetrail.com
Click the red recording button:
- Sharing settings: a window will prompt you to either share your a chrome tab, window, or your entire screen. Enable permissions as you need for your recording.
- Recording Process: After the initial setup, you’ll receive a countdown. Start speaking and navigating through your app or demo. Gluetrail will capture screenshots every time you click within the browser. Speak naturally, don’t worry about filler words or errors. You can rectify what you say in the recording (as opposed to re starting from scratch) as you’ll be able to edit after the recording is done.
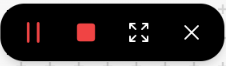
- Managing the Recording: Use the control panel to pause or end your recording. To save and process your recording, click the red button finish recording. The x cross on the panel closes the extension and as a result, cancels the current recording.
As soon as you click the red button, a new tab will open with your recording. It will be in processing status. The processing should only take a few seconds/minutes (depending on the length of your recording)
The screen recording section of the recording in Gluetrail is your raw input: video recorded with the transcript.
Articles with Screenshots (text generation section)
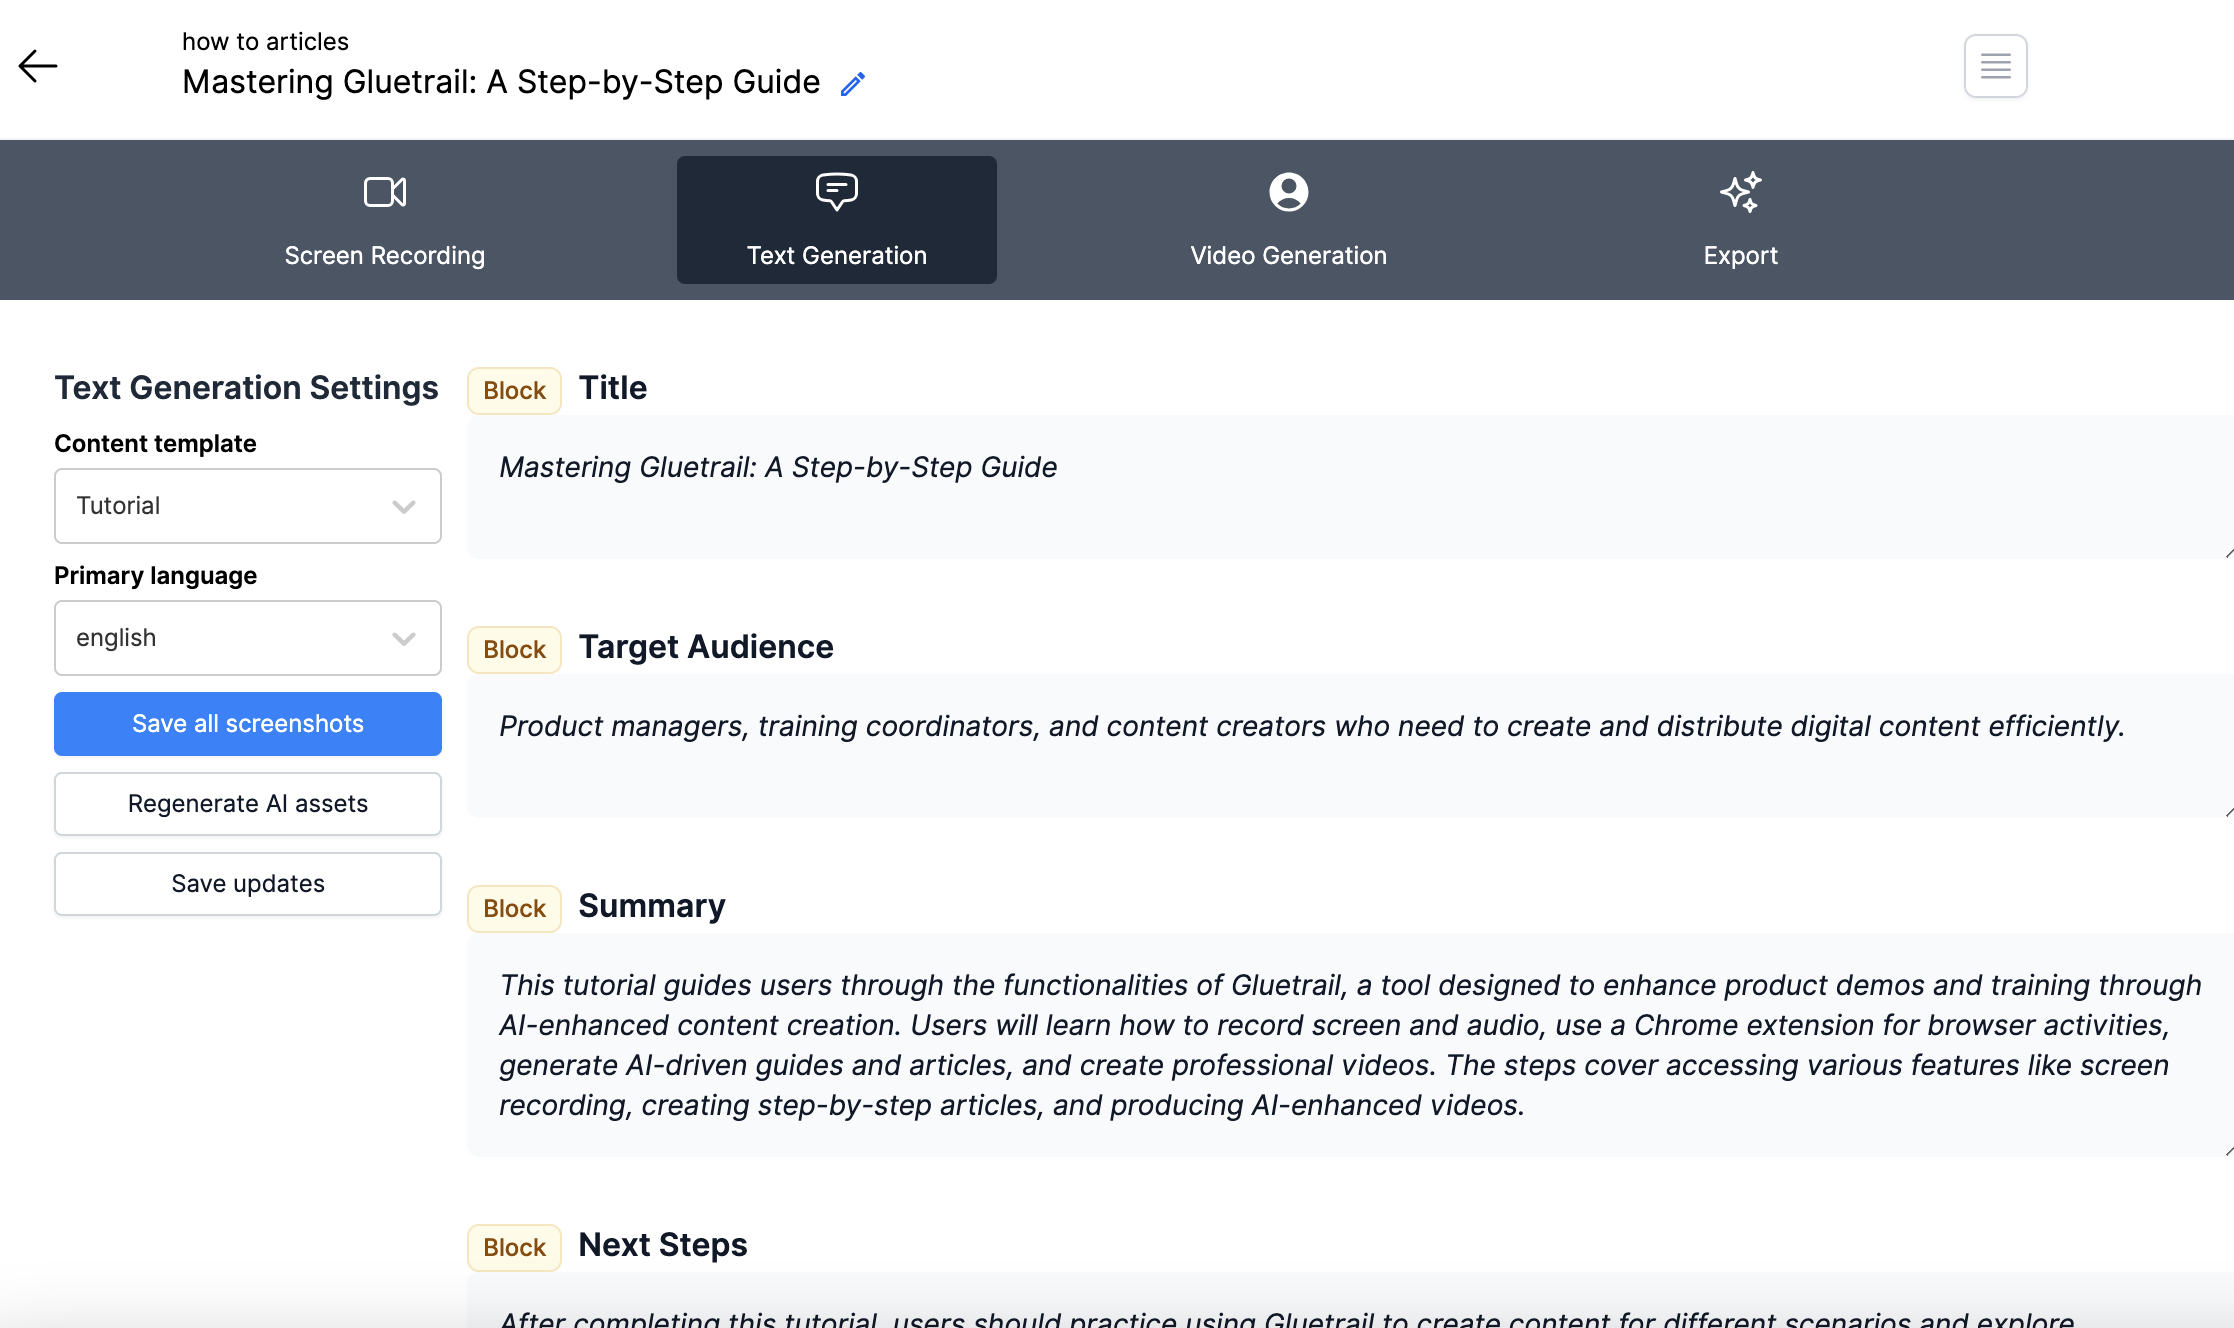
Clicking on “text generation” after your recording is fully processed, you’ll see the input of a step by step article with screenshots.
Content templates
Articles in Gluetrail are created based on templates. As you can see on the left panel, the default “content template” is the tutorial one. It defines the blocks you see on the screen which are pre-populated based on your raw recording and our processing.
We currently have another template available called “post” (more suited for short posts with insights as opposed to step by step). If you wish to try it, you can select it and be sure to click on “regenerate AI assets” after you do so!
Our intent is to enable more templates with your feedback. And at some point, allow you to even create your own templates 🙂
Languages
By default, the language the article is in, is the language you used in your audio recording (and if no audio enabled, the language of the page shared in the screen recording). You may chance the language here, selecting the language of your choice and clicking “regenerate AI assets”.
Note: you can change the languages of your articles in the export section as well. Changing the language in export is recommended if you want to create the same article in multiple languages.
Content blocks
The tutorial blocks are pre-filled based on your raw inputs and our processing:
- Title, target audience, summary, next steps are recommended blocks to introduce your step by step. Edit them as you see fit.
- Step by step: includes a description per step and a screenshot. You’ll see a step and a screenshots for every time you clicked on something during the recording.
- Remove steps as needed
- Edit the description as you see fit
- Edit the screenshots: using the edit panel
Don’t forget to click on “save all screenshots” so your images are saved with your edits.
Video editor (video generation section)
In the video generation section, you can preview and edit your video
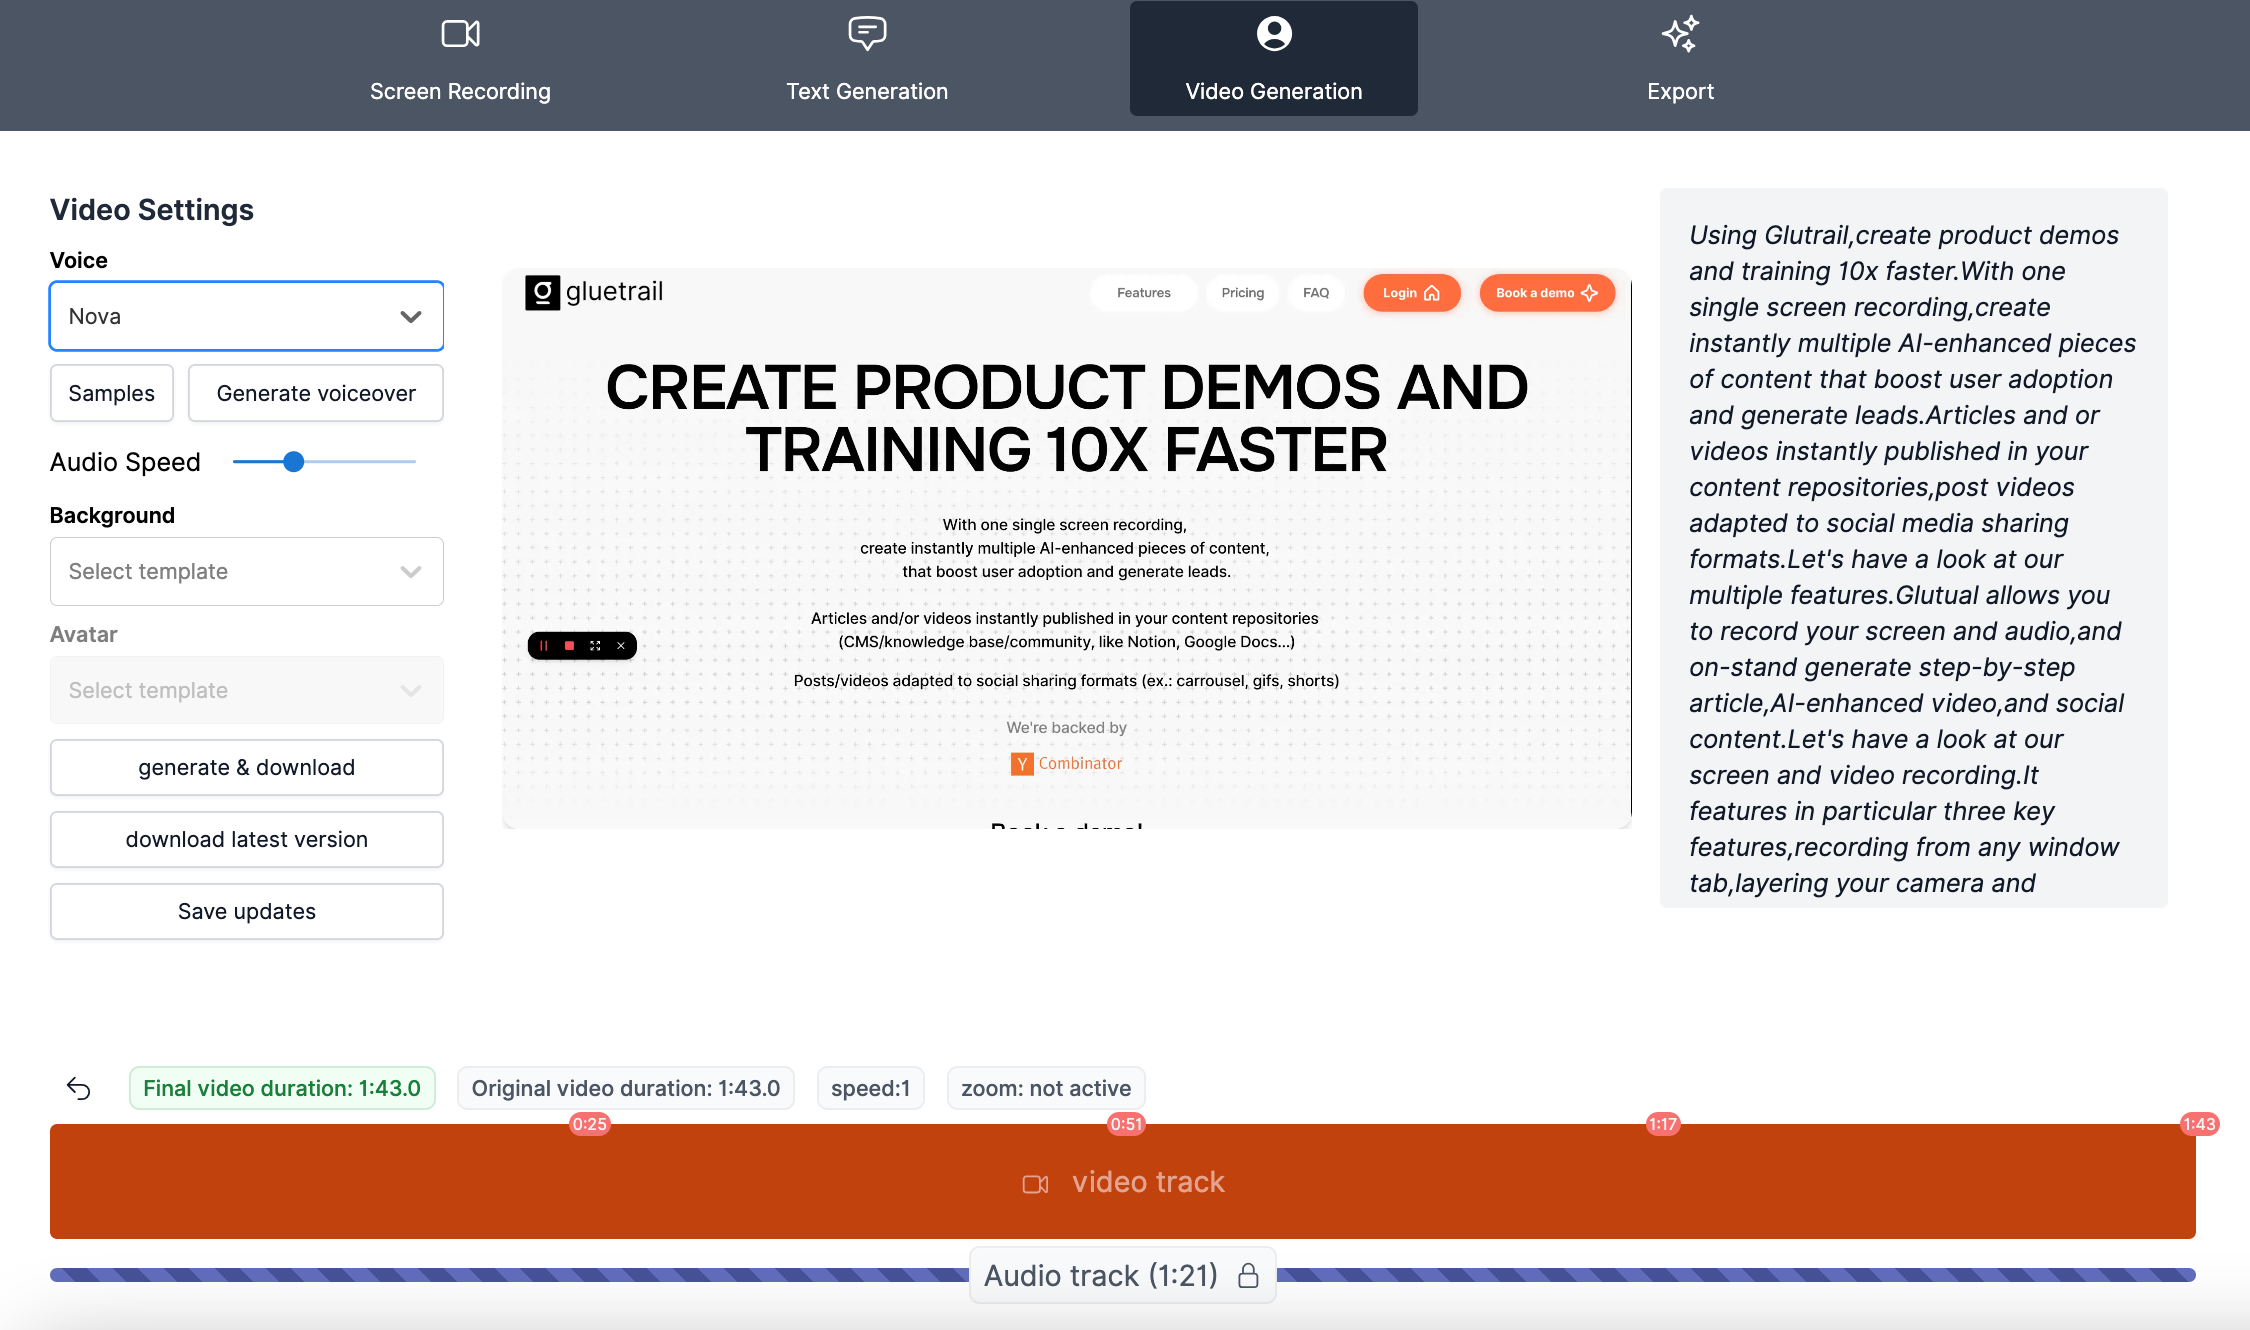
AI voice
By default, you can leave your audio as is. If you wish to generate an AI voice from the right side transcript, select a voice name.
Click on samples to listen to the voices before you select one.
Once you’ve chosen your preferred voice, select it and click on “generate voiceover”.
The voice will read the transcript. Edit the transcript on the right side of the screen prior to clicking generate voiceover. If you’ve generated a voice and changed the transcript after, you’ll need to click again on generate voiceover.
We’re working on a feature to use your own voice, reading the recording. As well as using your own voice and removing filler words. Stay tuned!
Background
Select a template to add a colored frame around your video.
Video track
Navigate in the orange video track section to preview and play your video. As you hover over the track, you’ll see the preview show. Click on the blue play button to launch it. Click again on the track to pause the video as it plays.
Zoom in
Select a section of the video track where you want to add a zoom effect. Click on that section and click the zoom icon. You’ll be prompted to select the area where you want to zoom into. Drag it directly on the video preview.
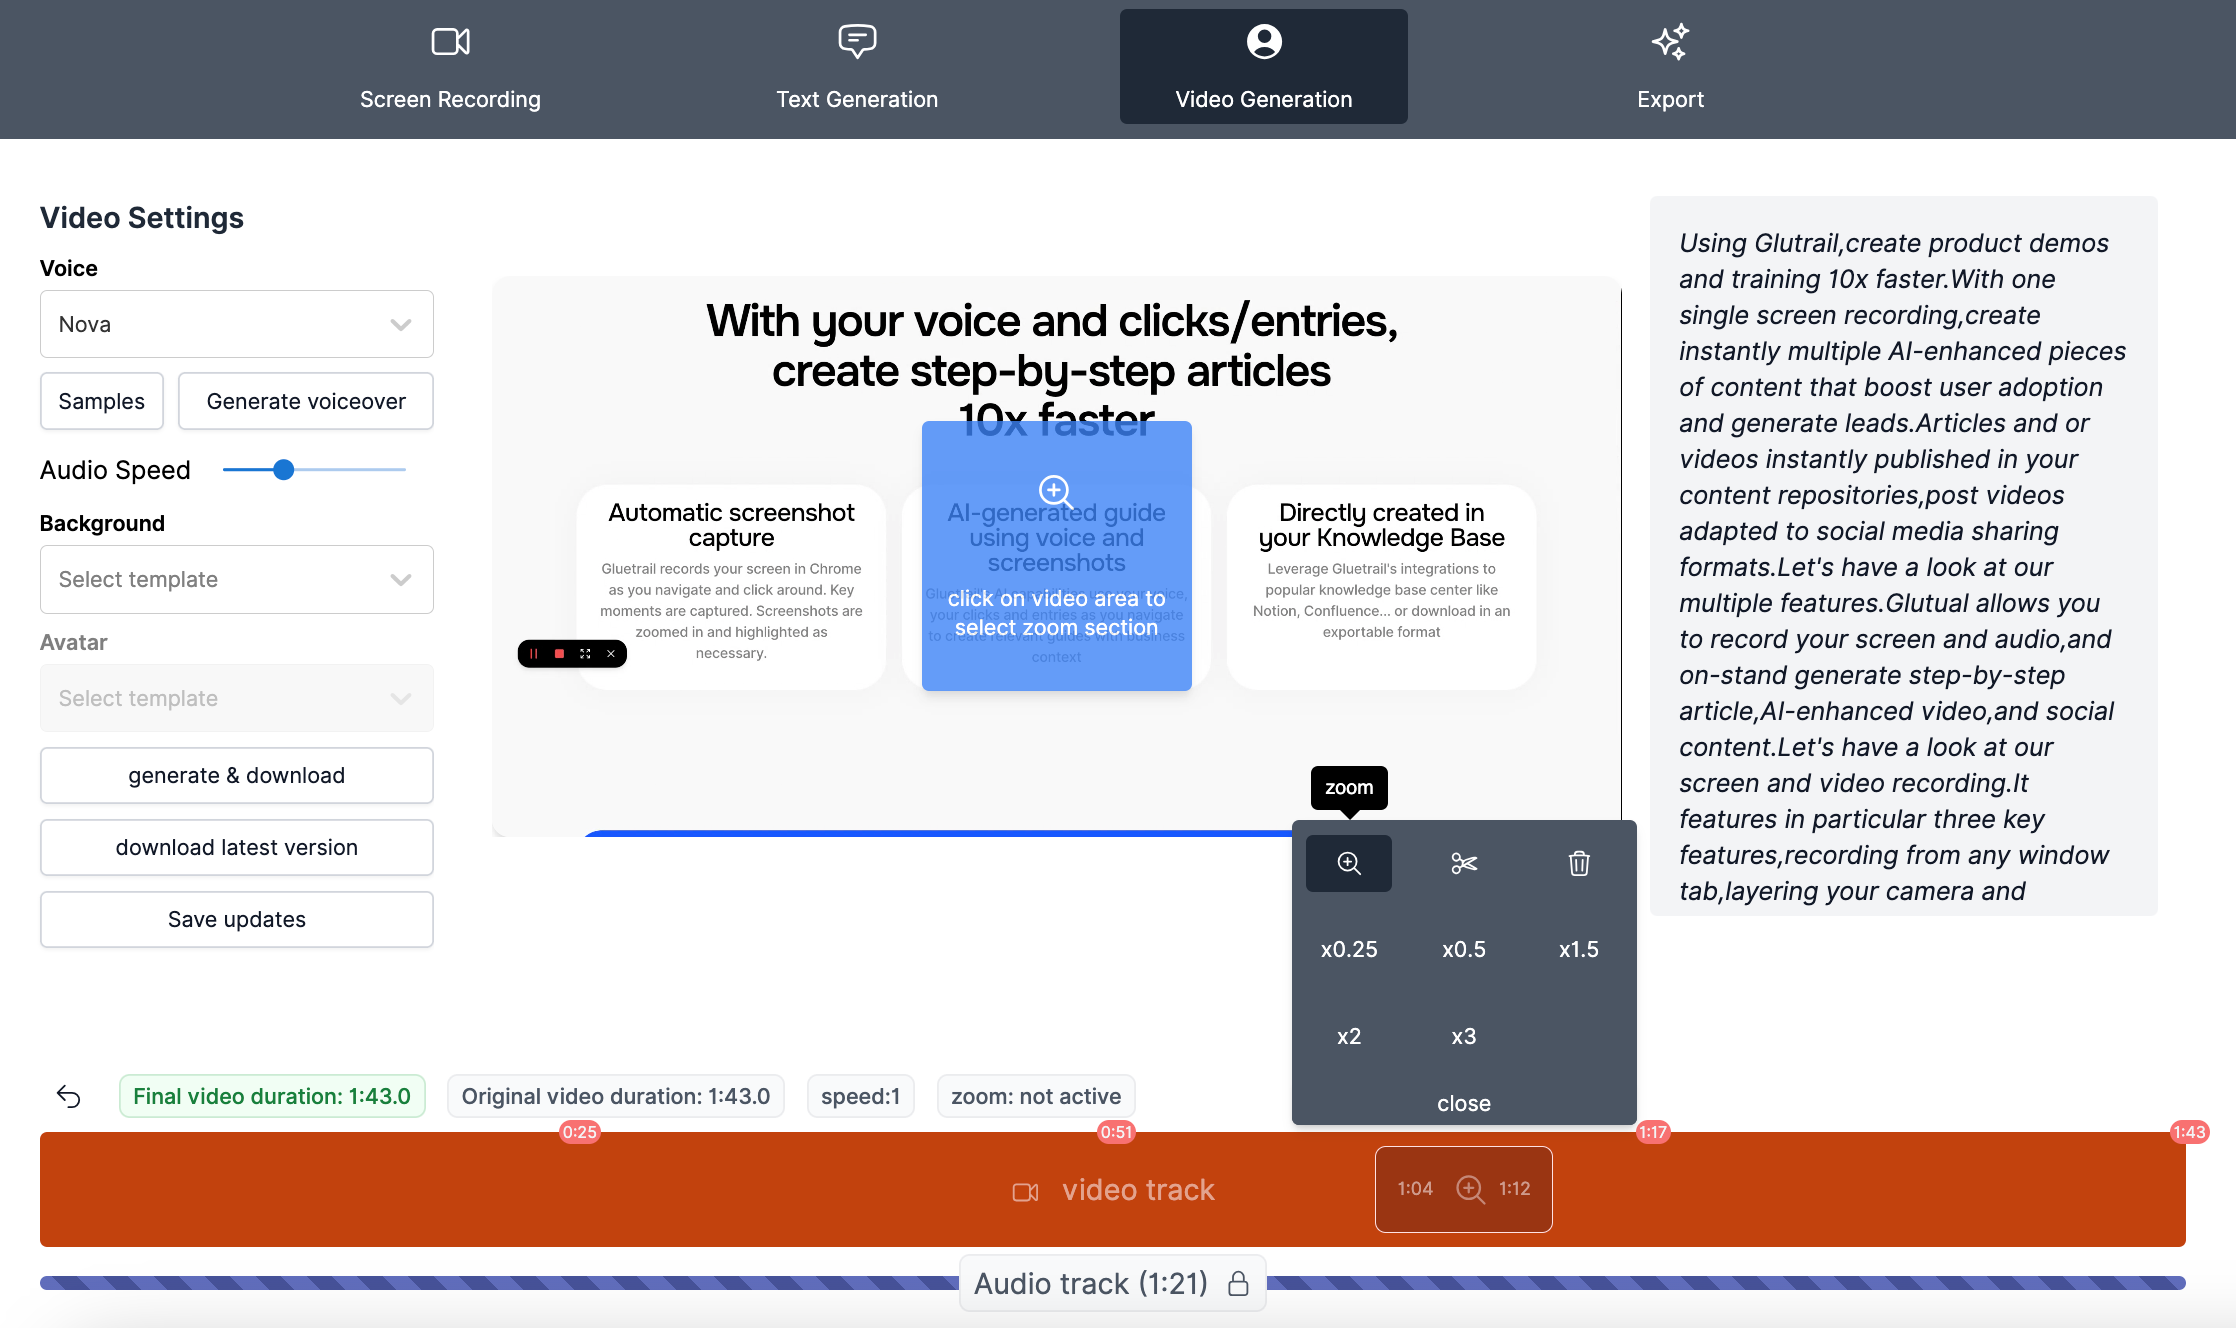
Decelerate / Accelerate
Similarly, select a section of the video track that you want to decelerate or accelerate. Click on that section and click the factor to use.
Cut
Similarly, select a section of the video track that you want to cut. Click on that section and click the scissors icon.
We’re working on improving the overall editor’s experience adding more features (ex.: editing the audio track similarly to the video track, add text overlays…) as well as recommending edits by default (ex.: adding zoom effects on every buttons you clicked on)
Exports (export section)
The export section has all the exports using your content. Click on Add media to select the type of export you need.
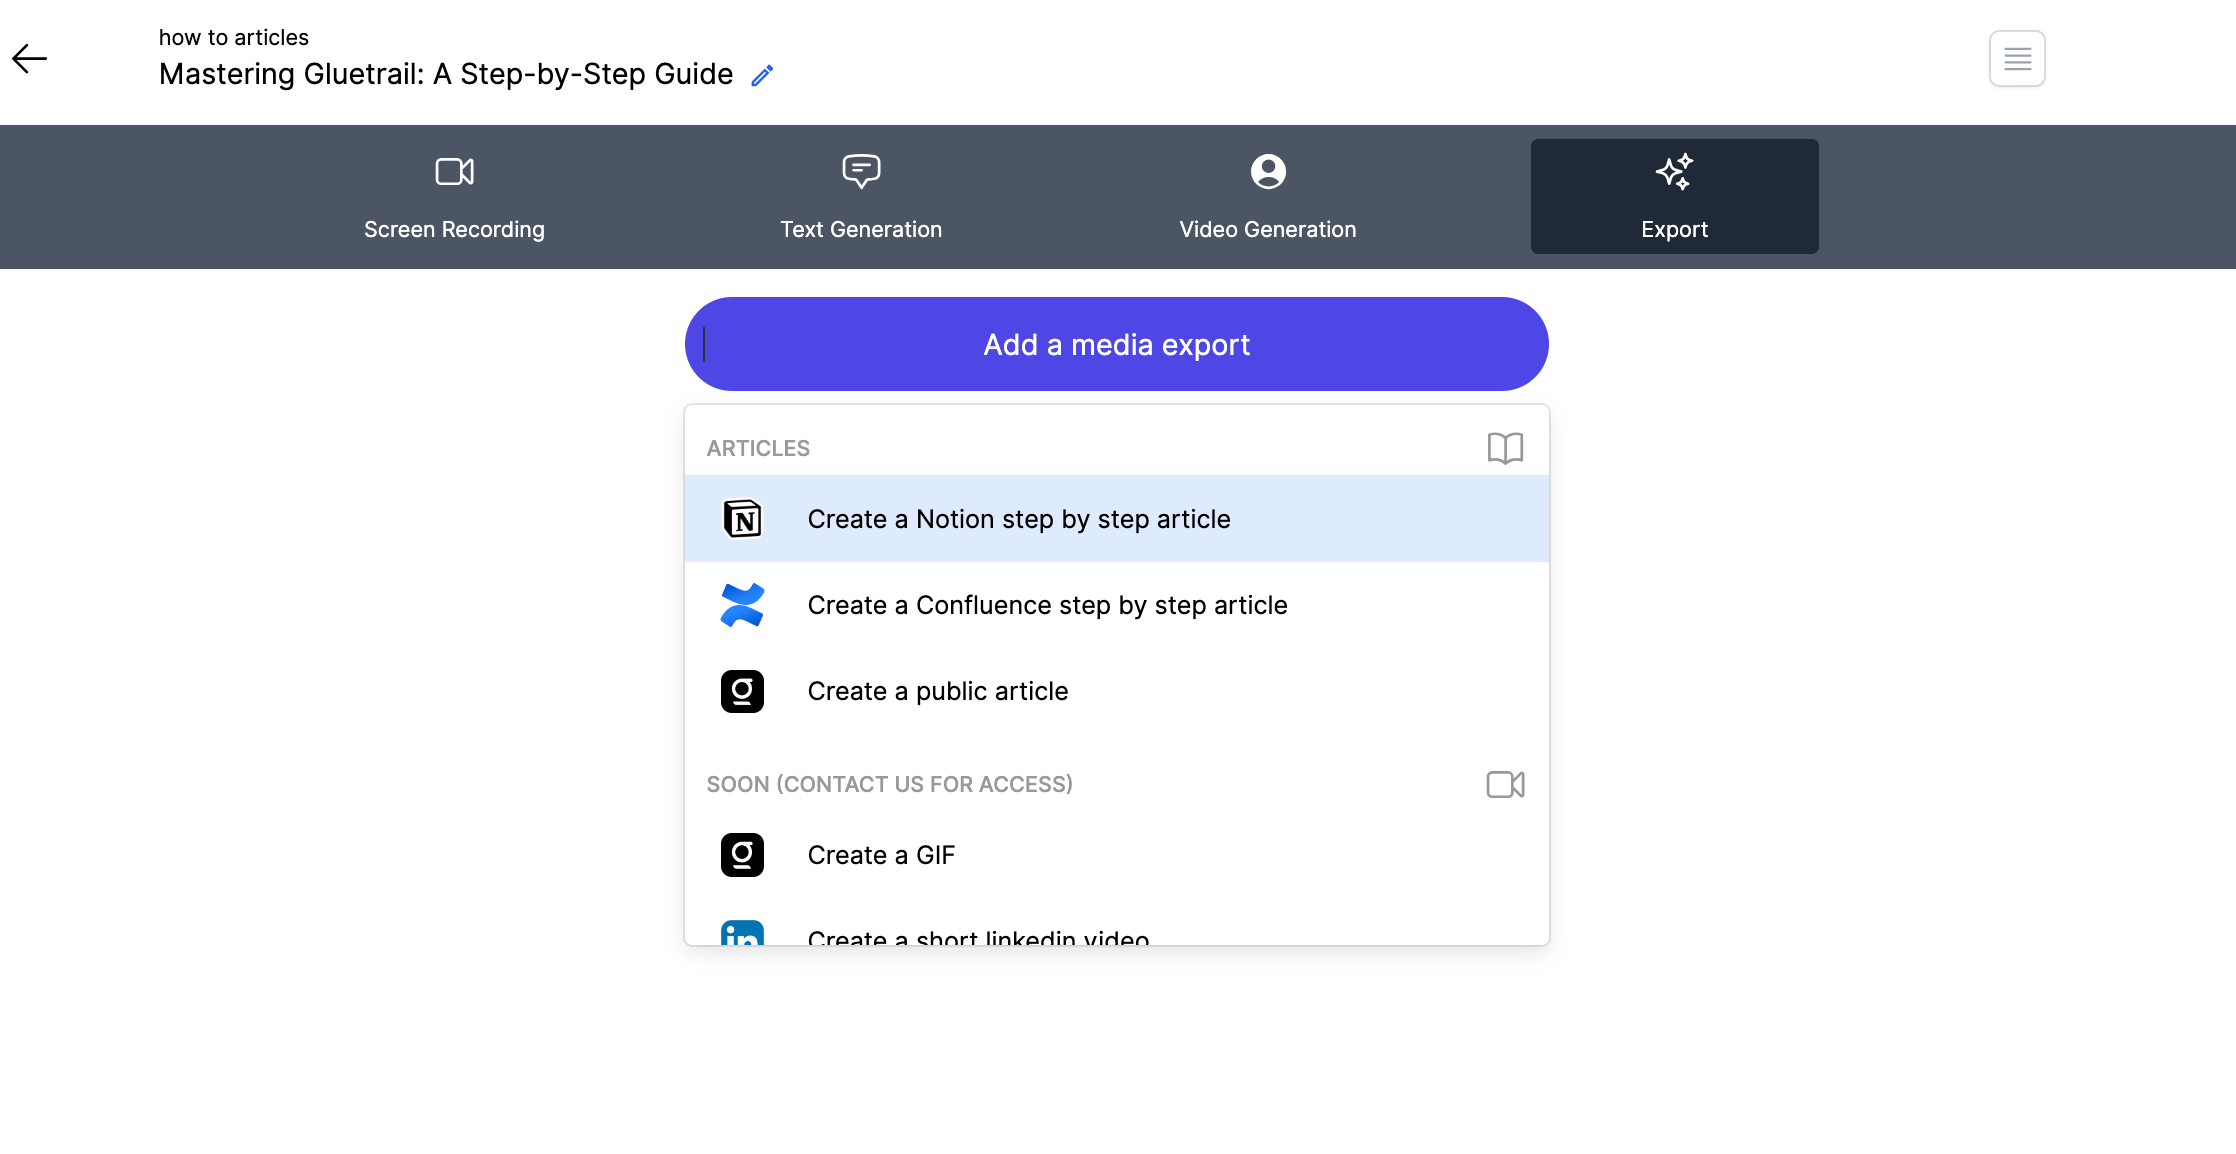
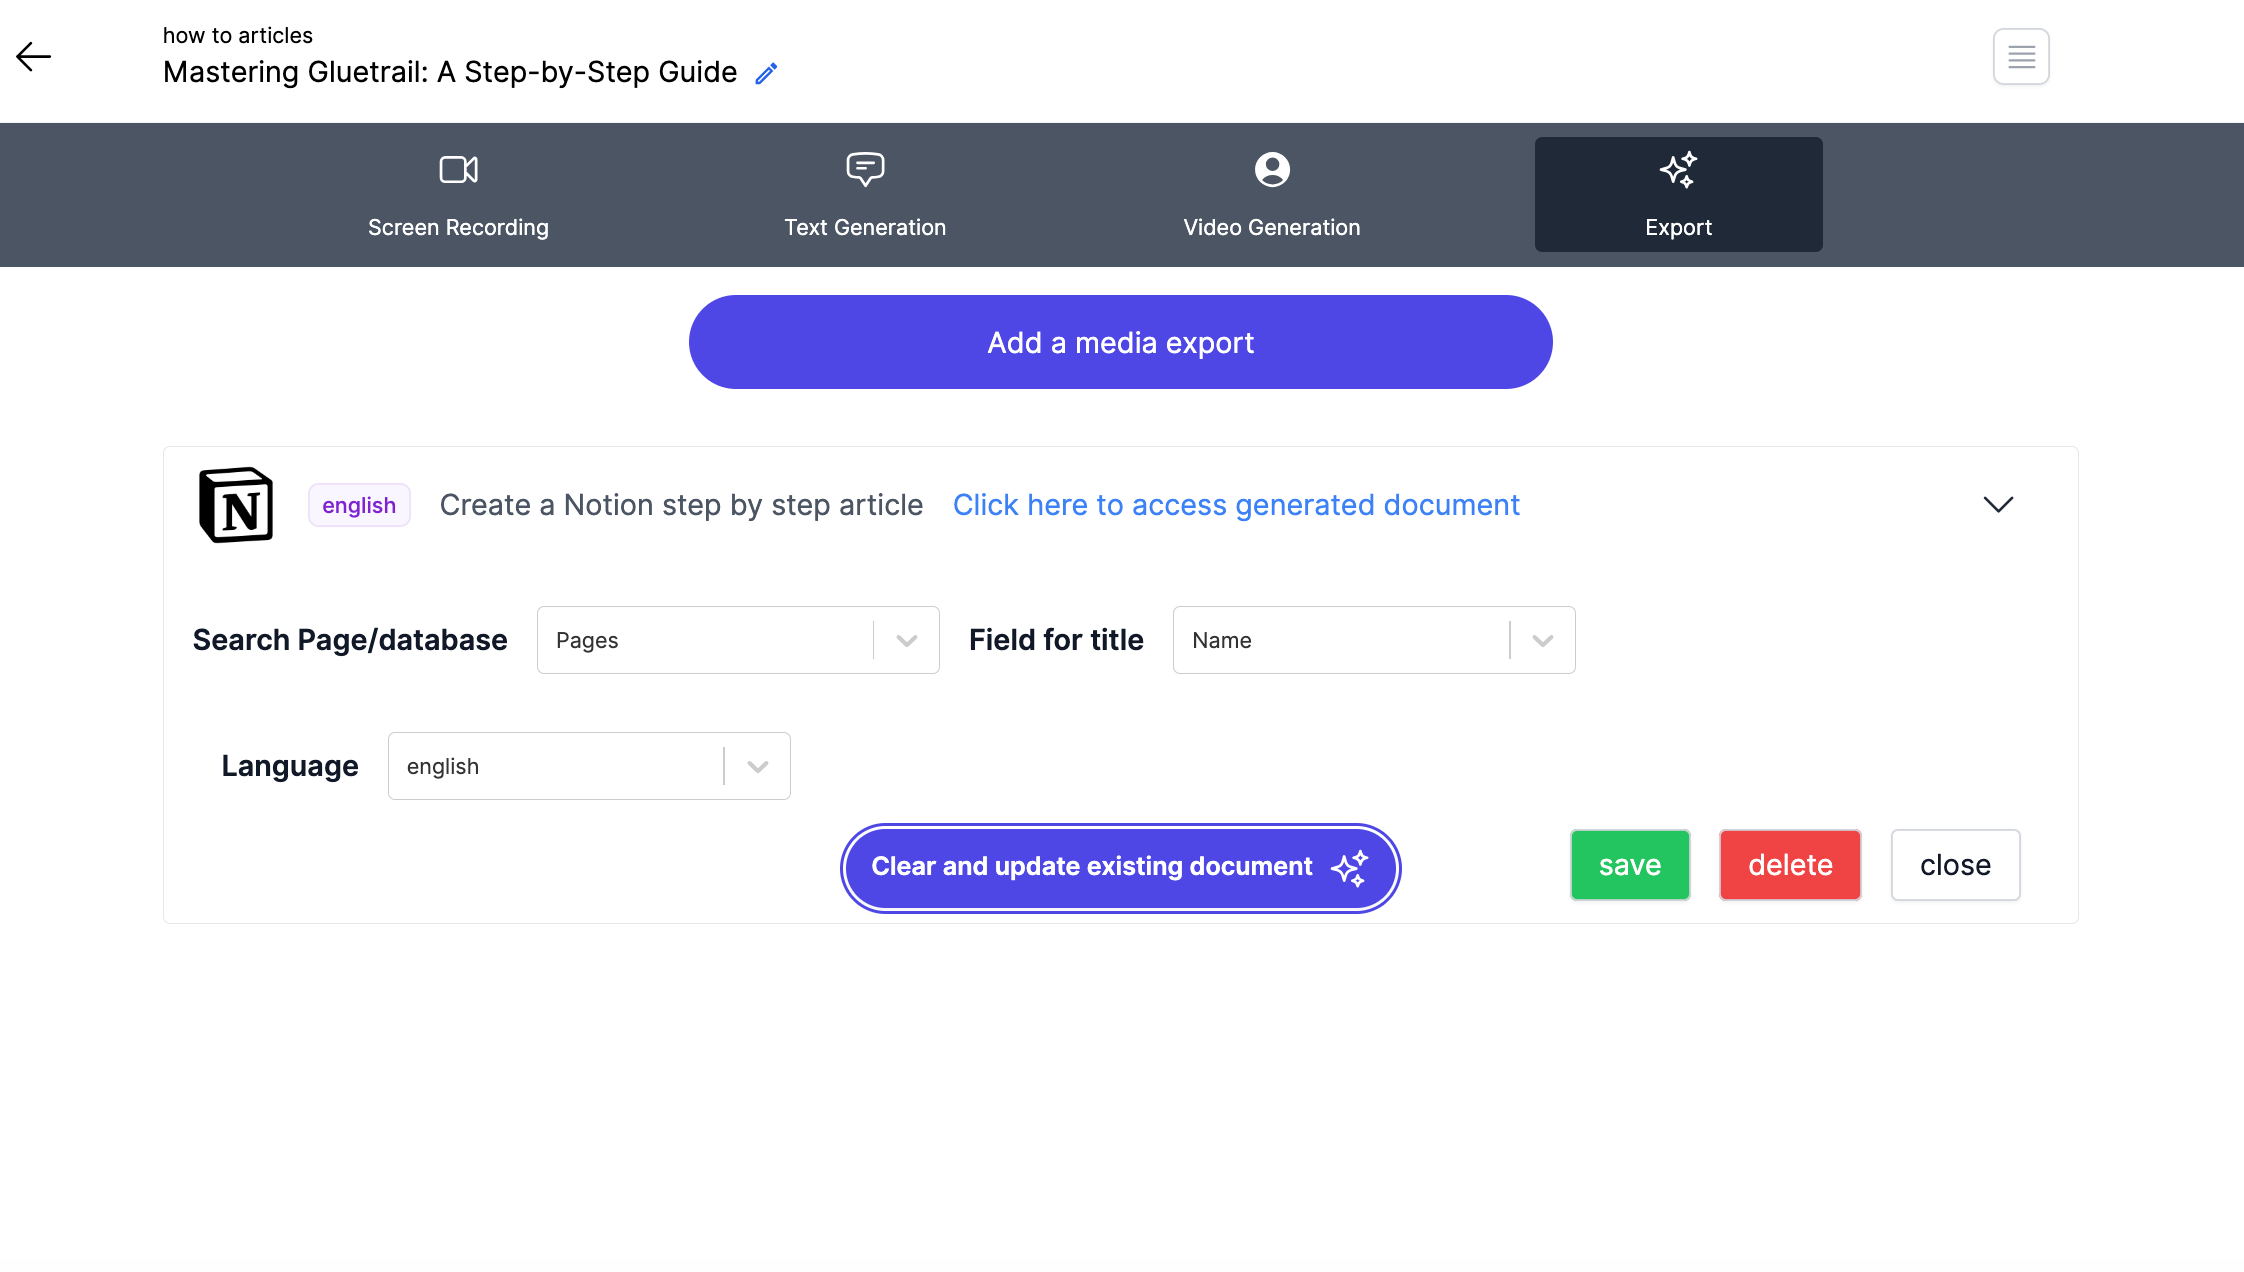
Notion
The first time you use this export, you’ll be prompted to login to your Notion account. You only need to do this once.
Select the database where you wish to create your article in. Select the field in the Notion database that maps to the article title. Select the language. Save.
Then click generate. The Notion article link will show at the top of the Notion box.
The article includes both your step by step and the video.
Note: the article generation will take longer when it includes a translation step.
Confluence
The first time you use this export, you’ll be prompted to login to your Notion account. You only need to do this once.
Select the Space and Folder to create the recording in. If you don’t see anything at first, type in the name of a space/folder in the search box to see it appear.
Select the language and save.
Click on generate and the link will appear in the Confluence export box as a blue hyperlink.
A Gluetrail public link
Select “create a public article” to generate a unique URL on Gluetrail’s domain that has your article. You can customize part of the URL and generate it.
Appendix
Integrations tab
available at: https://app.gluetrail.com/integrations to manage your existing integrations
Need support?
Send us an email at [email protected] or join our Slack community here.
